
Vegetables
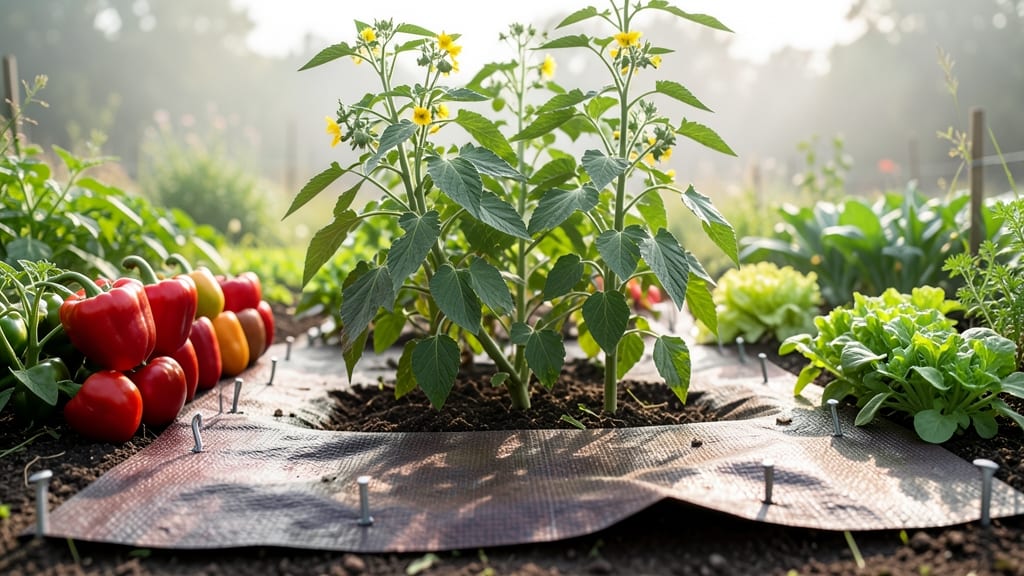
A weed guard for gardens is your game-changer when weeds feel like an endless battle 🌱—no more backbreaking sessions or stubborn regrowth.
Picture this: you’ve just spent 20 minutes pulling weeds, only to see them creep back in a week. A weed guard flips the script by blocking sunlight and moisture, the two things weeds need to thrive.
It’s not just about saving time—it’s about giving your plants the clean, healthy space they deserve without chemicals.
From lightweight landscape fabric to thick mulch mats, there’s a weed guard solution for every garden type. Whether you’re protecting veggies, flowers, or pathways, the right choice keeps weeds at bay while locking in soil moisture.
Below, I’ll walk you through the 3 easiest methods to install one—plus the common mistakes that turn a simple fix into a headache.
Ready to reclaim your garden? Let’s dive into how to pick, place, and maintain your weed guard for a stress-free growing season.
How to choose the best weed guard materials for your garden type
Choosing the right weed guard for gardens can transform your gardening experience by cutting down on weeding time and protecting your plants. The material you select depends on your garden type—whether it’s a vegetable garden, flower beds, or pathways.
Each option has unique benefits, from durability to cost, and knowing these will help you make an informed decision.
The first step is understanding the trade-offs between organic weed guards (like mulch or cardboard) and synthetic options (such as landscape fabric or plastic sheets). Organic materials break down over time, enriching the soil, while synthetic materials offer long-term protection but may not decompose.
Your choice should align with your gardening goals, whether that’s sustainability, cost-effectiveness, or ease of use.
Below is a detailed comparison of the most popular weed guard materials, including their pros, cons, and best uses. This will help you decide which option suits your garden type and long-term needs.
For vegetable gardens, I recommend using landscape fabric or mulch mats because they provide long-lasting weed suppression without smothering your plants. These materials allow water and nutrients to penetrate while blocking weeds effectively.
If you’re on a budget, cardboard or newspaper layered with compost can work as a temporary solution, especially in early spring before planting.
In flower beds, organic options like straw or wood chips are ideal because they break down over time, adding nutrients to the soil. However, if you want a more permanent solution, plastic sheets or landscape fabric can be buried slightly to prevent weeds from sprouting through.
Just be mindful of heat retention, as plastic can overheat the soil in hot climates.
For pathways, durability is key. Plastic sheets or landscape fabric are excellent choices because they withstand foot traffic and resist tearing. If you prefer a more natural look, consider using gravel or decorative stones over a weed barrier to create a polished, low-maintenance path.
When selecting a weed guard, consider your climate and garden layout. In hot, dry areas, organic materials like mulch may dry out quickly, while synthetic options retain moisture better. Conversely, in rainy climates, ensure your weed guard has proper drainage to avoid waterlogging and root rot in your plants.
Another critical factor is long-term effectiveness. Synthetic materials like landscape fabric or plastic sheets will last years, but they don’t decompose and may require removal if you plan to replant. Organic options, while temporary, enrich the soil and reduce the need for chemical fertilizers over time.
If you’re growing delicate plants like lettuce or strawberries, avoid thick plastic sheets, as they can block too much light and heat. Instead, opt for mulch mats or lightweight fabric that allows air and moisture to reach the soil while still suppressing weeds.
Finally, think about maintenance. Organic weed guards like mulch or cardboard will need replenishing every season, while synthetic options require occasional checks for tears or shifts. Weigh these
Step-by-step guide: installing weed guards in 3 simple methods
A weed guard for gardens transforms your weeding routine from a chore into a breeze. Whether you’re protecting vegetable beds, flower borders, or pathways, the right installation makes all the difference.
Below, I’ll walk you through three proven methods—from store-bought landscape fabric to DIY solutions—that block weeds without chemicals. Grab your tools, and let’s get started!
Before diving in, clear existing weeds and loosen the top 2 inches of soil. This helps your weed guard sit flush and prevents weeds from poking through gaps.
For best results, install on a dry, sunny day when the ground is workable but not muddy. Now, let’s explore the methods!
🌱 3 Easy Ways to Install Weed Guards
1. Landscape Fabric Method
- Tools: Utility knife, landscape fabric (3-4 ft wide), staples or landscape staples, rocks or pavers for edges.
- Step 1: Unroll fabric over the prepped garden bed, overlapping edges by 6 inches for full coverage.
- Step 2: Cut fabric to fit, leaving 2-3 inches extra around the perimeter to secure later.
- Step 3: Use landscape staples to pin fabric to the soil every 12 inches, especially along edges.
- Step 4: Secure edges with rocks or pavers to prevent fabric from curling up.
- Step 5: Add 2-3 inches of mulch on top for extra weed suppression and moisture retention.
2. Mulch Mat Method
- Tools: Mulch mats (biodegradable or plastic), scissors, garden staples, compost or straw.
- Step 1: Lay mats directly over the weed-free soil, trimming to fit with scissors.
- Step 2: Overlap mats by 4-6 inches to eliminate gaps where weeds can grow.
- Step 3: Secure edges with garden staples or small rocks to keep them in place.
- Step 4: Top with 1-2 inches of compost or straw to blend in and deter weeds.
- Pro Tip: Replace mats every 1-2 years for best results.
3. DIY Newspaper & Compost
- Tools: Old newspapers (black ink only), compost, water, boards or bricks (optional).
- Step 1: Wet newspapers thoroughly and layer 4-6 sheets thick over the garden bed.
- Step 2: Overlap sheets by 2 inches to block all light from reaching weeds.
- Step 3: Place boards or bricks on top to weigh down layers and prevent wind from lifting them.
- Step 4: Cover with 3-4 inches of compost to nourish soil and plants.
- Step 5: Water lightly to settle the layers and encourage decomposition.
For long-lasting results, combine your weed guard with regular mulching and companion planting. For example, planting marigolds around your garden beds naturally deters weeds while adding beauty. Always leave small gaps around plant stems to allow air and water to reach roots.
Remember, the key to a successful weed guard is consistency. Check edges monthly for gaps, and top up mulch or compost as needed. With these methods, you’ll spend less time weeding and more time enjoying your garden’s bounty!
🌿