
Landscaping
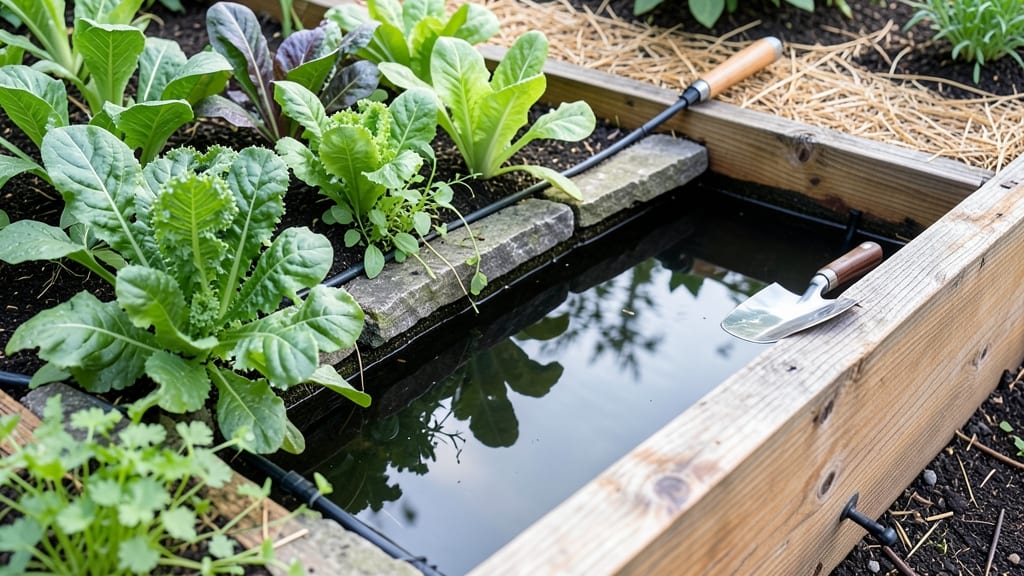
Repurposing water troughs into raised garden beds 🌱 is a game-changer for small yards, turning overlooked containers into stylish, functional growing spaces.
Picture this: you’re staring at an old metal trough gathering dust in the corner, wondering how to turn it into something useful. With a little creativity, that same trough becomes a thriving mini garden—no expensive materials or heavy lifting required.
These layouts maximize every inch of space while keeping maintenance simple, making them perfect for urban balconies or cramped backyards. Plus, the rustic charm adds character to any outdoor area.
Below, I’ll walk you through 5 space-saving designs, from vertical stacks to corner setups, plus the best plants to keep your trough garden lush and low-maintenance.
How to convert water troughs into functional raised garden beds
Repurposing old water troughs into raised garden beds is one of my favorite DIY gardening projects. These sturdy containers add a rustic aesthetic while solving space constraints in small yards or urban balconies.
The key lies in transforming their original purpose—holding water—into a thriving ecosystem for plants. With the right preparation, your trough can become a low-maintenance, high-yield growing space for herbs, veggies, or flowers.
Before you begin, gather essential supplies: a clean plastic or metal trough, landscape fabric, gravel or drainage holes, high-quality potting mix, and optional wooden supports for stability. The process involves cleaning, sealing, adding drainage, and reinforcing the structure to ensure longevity.
Let’s dive into the step-by-step process to turn your trough into a functional raised bed that will last for years.
Step-by-Step Guide to Repurposing Water Troughs
-
Step 1: Clean Thoroughly
Remove all debris, dirt, or algae from the trough using a 50/50 vinegar-water solution or mild soap. Rinse with clean water and let it dry completely in the sun to prevent mold growth.
-
Step 2: Add Drainage
Drill 1/4-inch drainage holes in the bottom (if using a solid trough) or line the bottom with landscape fabric to prevent soil from washing out. Add a 2-inch layer of gravel or broken pottery for extra drainage.
-
Step 3: Seal the Trough
Apply a non-toxic sealant (like food-safe polyurethane) to metal troughs to prevent rust. For plastic, use a UV-resistant sealant to protect against cracking. Let it cure for 24 hours before adding soil.
-
Step 4: Reinforce the Structure
If your trough is lightweight, secure it to a wooden base or cinder blocks to prevent tipping. For extra stability, add corner braces or stack smaller troughs with wooden slats between them.
-
Step 5: Layer the Soil
Fill the trough with a mix of 60% potting soil, 30% compost, and 10% perlite for drainage. Avoid garden soil—it compacts easily and suffocates roots. For deeper-rooted plants, add a 12-inch layer of soil.
-
Step 6: Choose the Right Plants
Select shallow-rooted plants like basil, lettuce, strawberries, or marigolds. Avoid heavy feeders like tomatoes or corn—they’ll outgrow the space quickly. Group plants with similar water and sunlight needs together.
-
Step 7: Water and Mulch
Water thoroughly after planting, then maintain 1 inch of water per week. Apply a 2-inch layer of mulch (like straw or shredded bark) to retain moisture and suppress weeds. Mulch also regulates soil temperature in hot climates.
One of the biggest advantages of using water troughs as raised beds is their portability. Need more sunlight? Simply move the trough to a sunnier spot. Planning a patio redesign?
Troughs are easy to relocate without damaging plants. Just ensure you’re not moving them during extreme heat—roots can get stressed from sudden temperature changes.
For added aesthetics, paint your trough with non-toxic, weather-resistant paint in earthy tones or bright colors to match your garden’s theme. You can also line the inside with landscape fabric before adding soil to prevent weeds from invading your growing space.
This extra step is especially useful if your trough sits on bare ground or in a high-traffic area.
If you’re working with multiple troughs, consider creating a connected garden system by placing them side by side or stacking them vertically. This not only maximizes space but also makes watering and harvesting more efficient. Just ensure each trough has its own drainage system to avoid water pooling between containers.
Monitor your trough garden regularly for signs of overwatering or nutrient deficiencies. Yellowing leaves often indicate too much water, while slow growth may signal a need for balanced fertilizer.
A slow-release fertilizer applied at planting time can provide nutrients for up to three months, reducing the need for frequent feeding.
With proper care, your water trough raised garden bed can become a productive and beautiful addition to your outdoor space for years. Start with a small trough to test your setup, then expand as you gain confidence. Happy gardening!
5 Space-saving water trough garden layouts for small yards
Small yards don’t mean small gardens! Repurposing water troughs into raised garden beds lets you grow lush plants vertically and horizontally. These space-saving layouts maximize every inch while adding rustic charm. Whether you have a sunny patio or a shady corner, these designs work for herbs, veggies, or flowers.
I’ve tested these layouts in my own urban backyard, and they’ve transformed tight spaces into thriving green zones. The key is modularity—mixing trough sizes and heights to create visual interest while keeping maintenance easy. Let’s dive into five creative setups that’ll make your small space feel bigger.
Stack 3-4 troughs in descending sizes (e.g., 36" → 24" → 18").
Mount troughs at descending heights on a wooden frame with cascading plants.
Place a single trough diagonally in a corner for a bold focal point.
Attach troughs to a balcony railing at varying heights for layered greenery.
Arrange troughs in a spiral pattern for easy access to herbs and succulents.
For the vertical stacking tower, I used plastic livestock troughs (cleaned thoroughly) stacked on wooden pallets with L-brackets for stability. Fill each level with well-draining soil and plant shallow-rooted herbs like basil and thyme at the top, where they’ll get the most light.
The tiered waterfall design is perfect for succulents or trailing plants like strawberries—just ensure each trough has drainage holes to prevent root rot.
My favorite corner pocket planter trick? Angle the trough so the long side faces the sun, maximizing exposure for leafy greens like kale or lettuce. If you’re working with a balcony, opt for lightweight troughs (like fiberglass) and secure them with heavy-duty straps to handle wind.
For the spiral herb garden, I painted the troughs in complementary colors (sage green and terracotta) to tie the space together visually.
Pro tip: Rotate your troughs every few weeks to ensure even sunlight exposure—especially if you’re growing sun-loving plants like tomatoes or peppers. And don’t forget to label your plants with waterproof markers to avoid mix-ups in tight spaces.
With these layouts, you’ll turn even the smallest patch into a productive, picturesque garden without sacrificing style.
Which layout speaks to your space? Try starting with just one trough in your sunniest spot and expand as you gain confidence. Happy growing! 🌱