
Picking
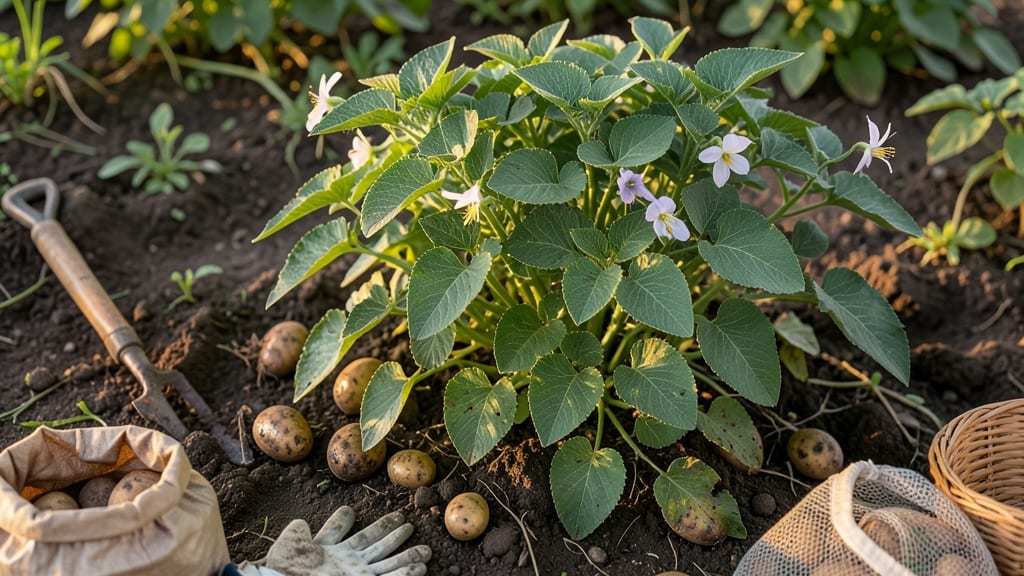
To pick potatoes from your garden at the perfect time means catching them when they’re tender yet fully mature—before they turn tough or rot in the soil.
Picture this: you’ve spent weeks hilling soil, protecting from pests, and waiting for those first green shoots. Now the question is, when exactly do you dig?
Miss the window, and you’re left with woody tubers or shriveling spuds. Get it right, and you’ll pull out golden, creamy potatoes that taste like summer.
Most gardeners rely on two foolproof signals: the skin slip test (where the skin peels away like a sunburn) and checking the soil for dryness. But timing also depends on your potato variety—early types like Yukon Gold need harvesting sooner, while Russets can wait longer.
I’ll walk you through the exact steps, plus how to avoid the three biggest mistakes that ruin a harvest.
By the end, you’ll know not just when to pick potatoes, but how to store them for months and even stretch your harvest season with simple tricks. Let’s get those 🥔 out of the ground before they disappear!

How to use the skin slip test & soil check for perfect potato harvest timing
Timing your potato harvest correctly ensures you get the best flavor and texture—whether you're making crispy roasted potatoes or storing them for winter. The two most reliable methods to determine when to dig are the skin slip test and soil check.
These simple techniques help you avoid the common mistakes of harvesting too early (small, underdeveloped tubers) or too late (woody, tough potatoes). Let’s break down how to use these methods for both new potatoes and mature storage varieties.
New potatoes are typically harvested earlier in the season when they’re small but fully formed, while mature potatoes need more time to develop thick skins and high starch content. The skin slip test is especially useful for mature potatoes, while the soil check helps confirm readiness for both types.
Understanding these cues will help you plan your harvest schedule and maximize your garden’s productivity.
-
1
Skin Slip Test (Primary Method for Mature Potatoes)
Gently brush away soil around a potato plant’s stem near the base. If the skin slips off easily (like a sunburn peeling), the potatoes are ready. For new potatoes, the skin may still be tender, but the tubers should be the size of a golf ball (about 1–2 inches in diameter).
-
2
Soil Check (Secondary Confirmation)
Dig a 6-inch trench near the plant’s base. If the soil is dry and the tubers are fully formed (not shriveled), it’s harvest time. For new potatoes, dig when plants flower but before the foliage yellows. For mature potatoes, wait until the soil is dry and the tops have died back.
-
3
Timing Variations by Potato Type
Early varieties like ‘Yukon Gold’ mature in 60–70 days; dig when foliage yellows. Late varieties like ‘Russet’ take 90–120 days; wait until skins toughen and soil dries. Always check the seed packet for variety-specific harvest times.
-
4
Avoid Overharvesting
Stop digging when tubers are smaller than a tennis ball—they’ll shrink if left too long. For storage potatoes, harvest when foliage dies back completely. Leave a few tubers in the ground if you’re unsure; they’ll keep growing until the first frost.
One of the biggest mistakes gardeners make is relying solely on days to maturity listed on seed packets. While these are helpful, they don’t account for soil conditions or weather variations.
For example, cool, wet seasons can delay maturity, while hot, dry weather might speed it up. Always combine the skin slip test with the soil check for the most accurate results.
For new potatoes, you can start harvesting as early as 50–60 days after planting, but avoid digging when the soil is too wet—this can cause tubers to split or rot.
If you’re growing storage potatoes, wait until the foliage turns yellow and dies back, and the skins are tough enough to resist a gentle pinch. This usually happens 2–4 weeks after flowering, depending on the variety.
Pro tip: If you’re unsure whether your potatoes are ready, perform both tests on two different plants. This gives you a better sense of consistency across your garden.
For example, if one plant passes the skin slip test but another doesn’t, wait a few more days before harvesting the entire patch. Patience pays off with larger, higher-quality tubers.
Another key factor is soil moisture. If the soil is too wet when you harvest, the potatoes will absorb excess water and may develop hollow hearts or rot. Aim to harvest on a dry, sunny day when the soil is slightly crumbly.
If rain is forecasted, dig a few days early to avoid muddy conditions. For container-grown potatoes, lift the entire pot and gently sift through the soil to check for readiness.
Once you’ve confirmed your potatoes are ready, handle them with care to avoid bruising. Place them in a well-ventilated basket or box and let them cure in a dark, dry place for 24–48 hours before storing.
Curing helps toughen the skin and improves storage life. For new potatoes, you can eat them immediately, but for storage varieties, proper curing is essential to prevent spoilage.
Remember, the skin slip test and soil check are your best friends when it comes to potato harvesting. By mastering these methods, you’ll avoid the frustration of underripe or overripe tubers and enjoy a bountiful harvest all season long. Happy digging! 🥔
Common mistakes that ruin your potato harvest (and how to fix them)
Even experienced gardeners sometimes make critical errors when harvesting potatoes that turn perfect tubers into tough, inedible spuds. The most common mistakes revolve around timing, soil conditions, and storage practices—all of which can be easily avoided with the right knowledge.
I’ve learned the hard way that harvesting too early leaves you with tiny, watery potatoes, while waiting too long results in woody, shriveled tubers. Let’s break down these pitfalls and how to salvage your harvest when mistakes happen.
One of the biggest culprits is harvesting at the wrong maturity stage. New potatoes are delicious but require precise timing, while storage potatoes need full maturity to develop their flavor and shelf life.
For example, if you dig up Yukon Gold potatoes too early (before the skin slip test passes), you’ll end up with bland, underdeveloped tubers. Similarly, leaving Russet potatoes in the ground past their prime turns their flesh tough and unappetizing.
The key is knowing your variety’s days to maturity and watching for visual cues like yellowing foliage or dry soil.
🥔 Harvest Timing Mistakes: Pros & Cons
Harvesting Too Early
- Tubers are small but tender
- Good for new potatoes
- Starchy content is low
- Skin may bruise easily
- Yield will be minimal
Harvesting Too Late
- Tubers are fully mature
- Skin toughens and becomes inedible
- Flesh turns woody
- Prone to disease (e.g., scab, blight)
Ignoring Soil Moisture
- None
- Dry soil = premature harvest
- Wet soil = rot risk
- Tubers may split or sprout
Storing Potatoes Improperly
- None
- Exposure to light = green (toxic) sprouts
- High humidity = mold
- Cold temps (<40°F) = sweetening
If you’ve harvested potatoes that are underripe, you can often salvage them by allowing them to cure in a dark, 50–60°F space for 1–2 weeks.
This process toughens the skin and develops flavor, but it won’t work miracles—if the tubers are too small or watery, they’ll never reach their full potential. For overripe potatoes, check for signs of disease like soft spots or green patches.
If caught early, trim away the affected areas, let the cuts dry for 24 hours, and store them in a paper bag with an apple to slow sprouting. This method can buy you an extra 2–4 weeks of usability.
Another critical mistake is ignoring soil conditions during harvest. Potatoes grown in dry soil will shrink and develop a rough skin, while those in overly wet soil risk rotting or splitting.
Always dig when the soil is loose and slightly dry—this is when tubers are most stable and least likely to bruise. For container-grown potatoes, gently sift through the soil with your hands rather than using a fork to avoid piercing the tubers.
If you’re unsure whether your potatoes are ready, perform the skin slip test and the soil check together for the most accurate results.
Finally, storage mistakes are the silent killers of potato harvests. Many gardeners unknowingly store potatoes in conditions that trigger sprouting or mold. For example, keeping them in the refrigerator converts their starches to sugar, making them taste sweet and unpleasant.
Instead, store potatoes in a cool, dark place (like a basement or root cellar) with good airflow. Use breathable sacks or cardboard boxes to prevent moisture buildup, and avoid stacking them too tightly.
If you notice green sprouts forming, those contain solanine—a toxic compound that makes potatoes bitter and unsafe to eat.
By avoiding these common mistakes, you’ll transform your potato harvest from a gamble into a guaranteed success. Start with the skin