
Fertilization
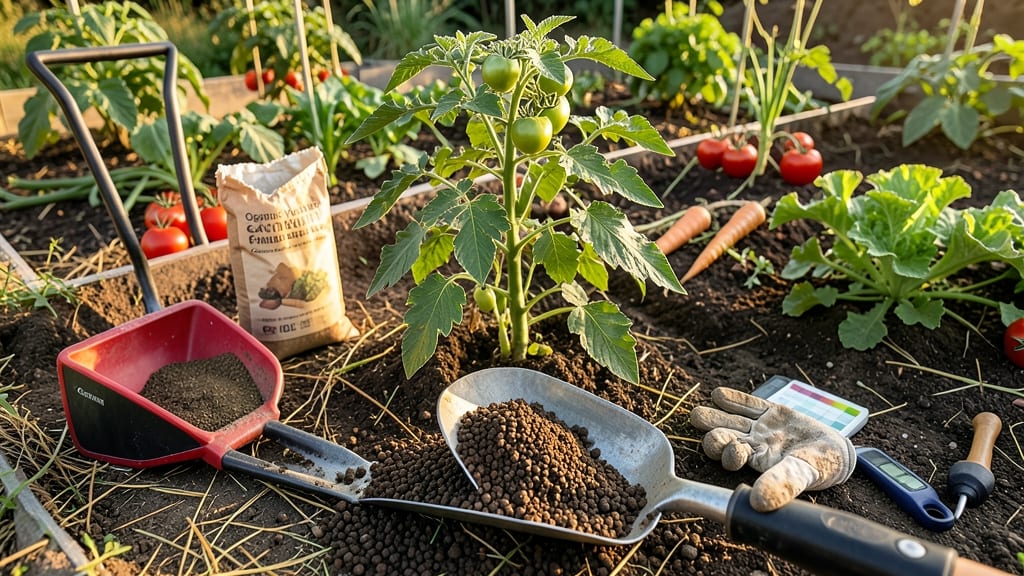
To apply fertilizer to your vegetable garden at the right times is the secret to turning good soil into a powerhouse of production.
Picture this: you’ve just planted your seeds, and the first leaves are peeking through the soil. That’s your cue to start feeding—not before, because young roots don’t need the boost yet, and not after, when the plants are already struggling to establish.
Timing is everything, and getting it wrong can leave you with leggy seedlings or bitter produce.
Most vegetables need a three-phase feeding schedule: a light dose at planting to kickstart growth, a mid-season boost when they’re flowering, and a final feed as they fruit.
But the exact moments depend on your climate—cool-season crops like lettuce and peas have different needs than heat-lovers like tomatoes and peppers. And let’s be honest, skipping a feed or overdoing it can backfire faster than you can say “brown leaves.”
In this guide, you’ll learn the exact seasonal windows for fertilizing, how to read your plants’ hunger signals, and when to hold off entirely—so you can avoid the common pitfalls and grow food that’s as healthy as it is abundant.

Seasonal fertilizer schedule for vegetable gardens: spring, summer, and fall timing
Fertilizing your vegetable garden at the right time maximizes plant health and harvests. Unlike annual flowers, vegetables need nutrient-rich soil throughout their growth cycle, but timing matters more than you might think.
Cool-season crops like kale and peas thrive with early spring feeding, while warm-season tomatoes and peppers demand mid-summer boosts. Climate zones further influence when to apply fertilizer—Zone 5 gardeners should start earlier than Zone 9.
Most gardeners make the mistake of fertilizing too late in the season or skipping pre-planting prep. The key is aligning fertilizer types with growth stages: nitrogen for leafy greens, phosphorus for root development, and potassium for fruiting.
Organic options like composted manure release nutrients slowly, while synthetic fertilizers provide immediate but shorter-term results.
For Zone 5-7 gardens, start fertilizing in early April for cool-season crops like broccoli and carrots. Apply a balanced fertilizer (like 10-10-10) at planting, then side-dress with compost when plants are 4-6 inches tall.
In Zones 8-10, warm-season crops like eggplant can begin in March, so adjust your schedule to match local last-frost dates.
One of my biggest lessons came from over-fertilizing spinach in late summer—it bolted prematurely! The rule is: stop fertilizing 4-6 weeks before harvest for leafy greens and root vegetables.
For fruiting plants like tomatoes, a potassium-rich feed in July encourages sweeter fruit, but avoid heavy nitrogen late in the season.
Soil tests are your best friend. If your test shows high phosphorus but low nitrogen, skip the all-purpose fertilizer and opt for a nitrogen-specific amendment like alfalfa meal. For container gardens, use water-soluble fertilizers every 2-3 weeks during active growth, but cut back in winter.
Remember: less is often more—vegetables grown in rich soil are less prone to pests and diseases.
Mulching after fertilizing helps retain moisture and slow nutrient release. Use straw or shredded leaves for cool-season crops and grass clippings (fresh, not treated) for warm-season beds. This dual approach—fertilizer + mulch—mimics natural ecosystems where nutrients cycle continuously.
My raised beds see the best results when I combine compost tea in spring with a mid-summer fish emulsion spray.
Don’t forget about microgreens and sprouts—they need frequent, light feeding (every 5-7 days) but only a low-nitrogen solution (like 3-4-6) to avoid bitterness. For most home gardens, a monthly schedule with adjustments for plant type and season keeps vegetables productive without waste.
Start small, observe your plants’ responses, and adjust next year!
🌱
Fertilizer application by plant growth stage: seedlings, vegetative, and flowering phases
Understanding your plants' growth stages is key to applying the right fertilizer at the right time. Each phase—seedlings, vegetative, and flowering—demands different nutrients to thrive.
As someone who’s seen seedlings wilt from over-fertilization or flowers fail to set fruit from nutrient imbalances, I’ve learned timing matters more than just throwing fertilizer on the soil. Let’s break down how to feed your vegetable garden at every critical stage.
For seedlings, focus on nitrogen-rich fertilizers like fish emulsion or a balanced 10-10-10 mix. This supports rapid leaf and stem growth, but use it sparingly—too much can burn tender young roots.
Organic options like compost tea or alfalfa meal are gentle and packed with micronutrients. I always apply a light dose right after transplanting to give them a nutrient boost without shock.
- Seedlings Phase: Nitrogen-heavy (e.g., fish emulsion, compost tea) – Apply lightly after transplanting
- Vegetative Phase: Balanced NPK (e.g., 10-10-10) – Feed every 3-4 weeks when leaves are dark green
- Flowering Phase: Phosphorus-rich (e.g., bone meal, 5-10-10) – Apply when buds form
- Fruiting Phase: Potassium boost (e.g., wood ash, banana peel tea) – Use late in season for harvest support
During the vegetative phase, when plants focus on leaf and stem growth, switch to a balanced fertilizer like a 5-5-5 or 10-10-10 mix. This ensures steady nutrient uptake without favoring one element over another.
Look for dark green leaves as a sign your plants are thriving. If leaves start yellowing between veins, it’s often a sign of iron deficiency, which can be corrected with chelated iron or compost.
When plants enter the flowering phase, shift to a phosphorus-rich fertilizer like bone meal or a 5-10-10 blend. Phosphorus helps develop strong roots and flower buds, but avoid overdoing it—too much can delay fruiting.
I’ve seen tomatoes and peppers struggle to set fruit when phosphorus was lacking, so I always monitor bud formation closely. Organic options like rock phosphate work slowly and safely.
Watch for signs of over-fertilization, like crispy leaf edges or stunted growth. If you notice these, flush the soil with water to leach excess salts. For nutrient deficiencies, yellowing leaves (nitrogen), weak stems (potassium), or purple stems (phosphorus) are clear signals to adjust your feeding routine.
My rule of thumb? When in doubt, feed lightly and observe—plants tell you exactly what they need.
Timing matters just as much as the fertilizer type. Always apply feeds in the early morning or evening to avoid leaf burn from heat. Water thoroughly after each application to help nutrients penetrate the soil.
And remember, organic fertilizers like compost or manure release nutrients slowly, while synthetic blends act faster—choose based on your plants’ current needs and your gardening goals.