
Tools
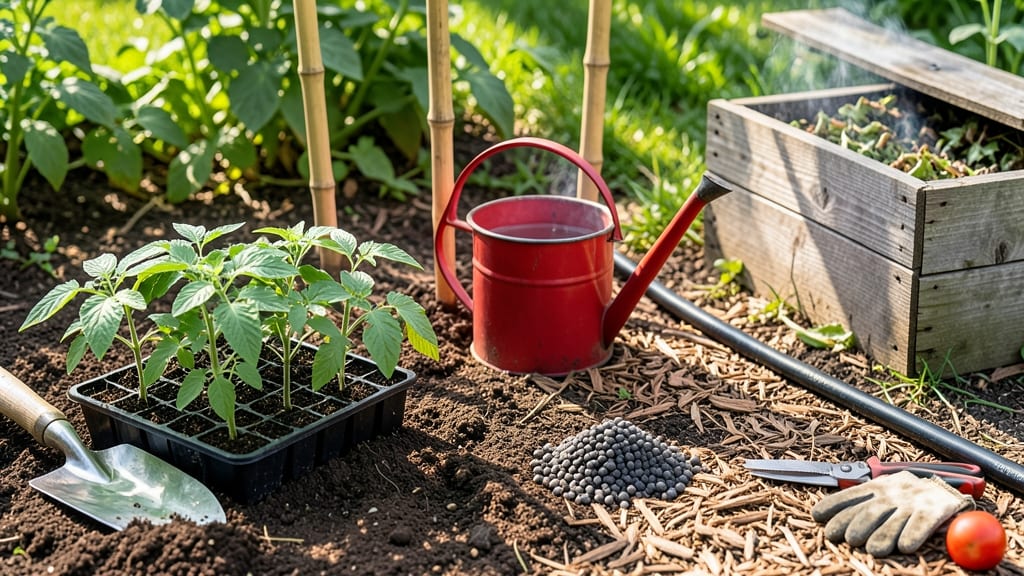
Gardening steps turn empty soil into a thriving oasis, even for beginners who’ve never held a trowel before.
Picture this: you’re standing in a patch of dirt, wondering where to start, what to plant, and how to keep it alive past week three. The good news? You don’t need a degree in botany—just a clear roadmap and a willingness to get your hands dirty.
This guide breaks down the essential steps for gardening into manageable tasks, from prepping your soil to nurturing your plants through the growing season. No jargon, no guesswork—just actionable advice to help you grow with confidence.
By the end, you’ll know exactly how to plan, plant, and maintain a garden that looks as good as it tastes (or smells, or simply thrives). Let’s get started!
7 Essential steps for gardening beginners to plan before planting
Starting a garden is exciting, but skipping the planning phase often leads to frustration. I’ve learned the hard way that skipping prep means struggling with poor soil, overcrowded plants, or wasted effort. The key to success? Pre-planning—it saves time, money, and heartache later.
Whether you’re growing vegetables, flowers, or herbs, these steps will set you up for a thriving garden from day one.
Before you dig your first hole, take time to assess your space, understand your sunlight conditions, and test your soil. These foundational steps ensure your plants get the right environment to grow strong.
I’ll walk you through each critical phase so you can avoid common mistakes and create a garden that’s both beautiful and productive.
Choose the Perfect Garden Location
Pick a spot with 6+ hours of sunlight (for most plants) and easy access to water. Avoid low-lying areas where frost or water pools.
Test Your Soil Quality
Use a soil test kit to check pH (ideal: 6.0–7.0) and nutrient levels. Amend with compost or peat moss if needed.
Map Your Sunlight Exposure
Track sun patterns for 2–3 days. Full sun plants (tomatoes, peppers) need south-facing spots, while partial shade plants (lettuce, ferns) thrive in east or north areas.
Select Seasonal Plants
Choose cool-season crops (kale, spinach) for spring/fall and warm-season crops (beans, cucumbers) for summer. Check your last frost date (April 15 in Zone 6a).
Design a Low-Maintenance Layout
Group plants by water needs and height (tallest in back). Leave 12–18 inches between rows for easy access and airflow.
Plan Your Watering System
Install drip irrigation or soaker hoses to deliver water directly to roots. Avoid overhead watering to prevent disease.
Gather Essential Tools
Stock up on a trowel, pruners, gloves, and a wheelbarrow. A garden journal helps track progress and troubleshoot issues.
Once you’ve mapped out your garden, you’ll notice how much easier planting becomes. For example, knowing your soil pH saves you from guessing whether to add lime (for acidic soil) or sulfur (for alkaline soil). I’ve also found that sketching a rough layout
How to prepare your garden soil for maximum plant growth
Healthy soil is the foundation of a thriving garden. Before planting, I always test my soil because poor soil quality can stunt growth and reduce yields. The key is balancing organic matter, drainage, and pH levels—each plays a critical role in how well your plants will thrive.
Let’s break down the essential steps to transform your soil into a nutrient-rich haven for your plants.
Start by removing weeds and debris from your garden bed. This step is crucial because competing plants and decaying matter can deplete nutrients and attract pests. Use a garden fork or tiller to loosen the top 6-12 inches of soil.
This aeration helps roots penetrate deeper and improves water absorption. If your soil feels compacted or clay-heavy, add sand or perlite to enhance drainage.
| Soil Type | Key Issue | Solution |
|---|---|---|
| Clay Soil | Poor drainage | Add compost and sand (50/50 mix) |
| Sandy Soil | Lacks nutrients | Mix in peat moss or aged manure |
| Loamy Soil | Balanced but may need pH adjustment | Test pH; amend with lime (raise) or sulfur (lower) |
| Compacted Soil | Restricted root growth | Incorporate compost and organic mulch |
Next, enrich your soil with organic matter like compost, aged manure, or leaf mold. These amendments improve soil structure and provide essential nutrients. Aim for a 2-3 inch layer mixed into the top 6 inches of soil.
For nutrient-dense soil, I often use a blend of compost (50%) and worm castings (25%) to boost microbial activity, which helps break down nutrients into forms plants can absorb.
Don’t overlook pH testing—most plants prefer a slightly acidic to neutral range (6.0-7.0).
Use a soil test kit (available at garden centers) to check your soil’s pH. If it’s too acidic (below 6.0), add lime; if it’s too alkaline (above 7.5), incorporate sulfur or peat moss.
Adjusting pH ensures your plants can access the nutrients they need to grow.
After amending, water the soil deeply to help nutrients settle. Avoid overworking the soil, as this can disrupt soil structure and harm beneficial microbes. Instead, focus on gentle tilling or broadforking to maintain soil health.
Finally, apply a 2-3 inch layer of mulch (like straw or wood chips) to retain moisture, suppress weeds, and regulate soil temperature.
With these steps, your garden soil will be ready to support strong, healthy plants. Remember, soil preparation is an ongoing process—continue monitoring and amending as needed throughout the growing season. Happy digging! 🌱