
Advice
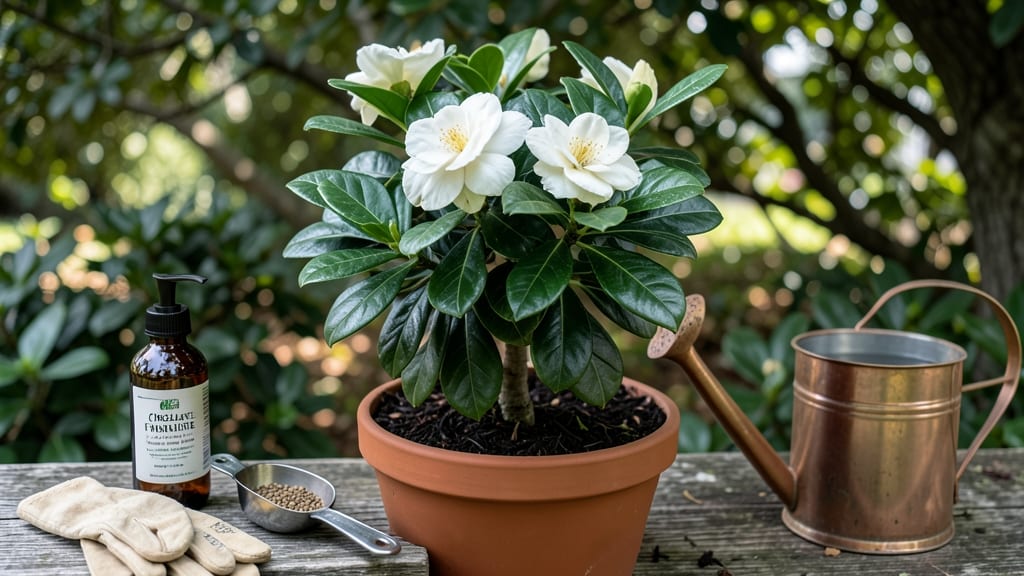
Adding iron to your gardenias 🌸 is the first step to fixing yellow leaves and weak growth—but it’s not the only one.
Struggling with yellowing leaves and sparse blooms on your gardenias? Iron deficiency could be the hidden villain—yet fixing it isn’t just about adding iron. The right soil pH, organic boosters, and application timing make all the difference.
Gardenias thrive in acidic soil (pH 5.0–6.0), and when that balance is off, they can’t absorb even the best iron supplements. That’s why a simple soil test and a few targeted fixes can turn your struggling shrubs into lush, fragrant bloomers.
Below, I’ll walk you through how to diagnose the problem, choose the right iron source, and keep your gardenias thriving with long-term soil health—no guesswork required.
How to diagnose and fix iron deficiency in gardenias
If your gardenias are showing yellowing leaves with green veins, you’re likely dealing with iron chlorosis. This common issue occurs when your plants can’t absorb iron, even if it’s present in the soil.
The problem? Gardenias thrive in acidic soil (pH 5.0–6.0), and iron becomes unavailable when soil pH rises above 6.5. Without intervention, chlorosis spreads, stunting growth and reducing those prized white blooms.
Don’t panic—fixing iron deficiency is simpler than you think. Start by confirming the diagnosis: check for yellow leaves with green veins (a classic sign of iron deficiency) and stunted new growth.
Once confirmed, the solution involves three key steps: soil testing, pH adjustment, and iron supplementation. The right approach ensures your gardenias recover quickly and stay healthy long-term.
🌱 Did You Know? Gardenias are acid-loving plants, meaning they need slightly acidic soil to access nutrients like iron. If your soil pH is too high (alkaline), iron becomes locked away, even if you add more.
| Symptom | Cause | Solution | When to Apply |
|---|---|---|---|
| Yellow leaves with green veins | High soil pH (alkaline) | Lower pH with sulfur or peat moss | Spring or early summer |
| Stunted growth | Iron unavailable in soil | Apply chelated iron or compost tea | Every 4-6 weeks |
| Brown leaf edges | Over-fertilization or drought | Reduce fertilizer, water deeply | Immediate action |
| Fewer blooms | Nutrient deficiency | Use iron sulfate or organic amendments | Spring feeding |
First, test your soil pH using a home kit or send a sample to a local extension office. Gardenias need a pH between 5.0 and 6.0. If your soil is too alkaline, amend it with elemental sulfur (1–2 pounds per 100 square feet) or peat moss.
Mix sulfur into the top 6 inches of soil and water thoroughly. Wait 2–3 months for the pH to adjust before adding iron.
Once your soil pH is ideal, it’s time to supplement iron. The best options for gardenias are chelated iron (like Iron Chelate 138) or organic compost tea. Chelated iron is highly soluble and absorbs quickly, while compost tea improves soil microbial activity, helping roots access nutrients.
For a quick fix, dissolve 1 tablespoon of chelated iron in a gallon of water and apply it as a foliar spray or soil drench every 4–6 weeks.
For organic gardeners, Epsom salt (magnesium sulfate) can help, but it’s not a direct iron source. Instead, use worm castings or fish emulsion, which provide trace minerals and improve soil structure.
Mix 1 cup of worm castings into the top inch of soil around your gardenias, then water deeply to activate the nutrients.
Timing matters! Apply iron in early spring when new growth begins or in late summer to prepare for winter. Avoid applying iron in hot afternoons, as it can scorch leaves.
Instead, water in the morning or evening for best results. Consistency is key—monitor your gardenias and reapply iron every 4–6 weeks until symptoms improve.
Prevent future issues by mulching annually with pine needles or oak leaves, which naturally acidify the soil. Also, avoid over-fertilizing with high-nitrogen products, as they can disrupt iron uptake. Instead, use a balanced fertilizer (10-10-10) with added micronutrients to support overall plant health.
With the right soil pH, iron source, and application timing, your gardenias will bounce back in no time. Watch for new green leaves and abundant blooms as a sign your efforts are working! 🌸
Best organic vs synthetic iron sources for gardenias
When your gardenias show yellowing leaves with green veins, it’s often a sign of iron deficiency. But not all iron sources work equally well—some provide quick fixes, while others build long-term soil health.
I’ve tested the most effective options to help you choose the right one for your gardenias. 🌸
Gardenias thrive in acidic soil (pH 5.0–6.0), so iron uptake depends on both the source and soil conditions. Synthetic options like iron sulfate and chelated iron deliver fast results, while organic methods like compost tea and Epsom salt improve soil structure over time.
Let’s break down the pros and cons to help you decide. 🌿
Iron Source Comparison for Gardenias
For immediate results, I recommend iron sulfate or chelated iron. Iron sulfate is budget-friendly and works fast, but it can lower soil pH if overused. Chelated iron is gentler and safer for container gardenias, as it won’t alter pH. 🪴
If you prefer organic methods, compost tea is my top pick for improving soil health over time. It introduces beneficial microbes that help break down nutrients, including iron.
For a quick, low-cost spray, Epsom salt (magnesium sulfate) can provide a minor iron boost, though it’s not a complete solution. 💧
Always apply iron supplements in the early morning to avoid leaf burn. Mix soil amendments with water and apply directly to the root zone. For potted gardenias, dilute solutions to half-strength to prevent root damage.
Test soil pH every 3 months to ensure it stays in the ideal range of 5.0–6.0. 🌱
Over-fertilizing with iron can harm your gardenias just as much as deficiency. Start with a small dose and monitor leaf color. If yellowing persists after 4–6 weeks, retest your soil and adjust your approach. Patience and consistency are key to reviving your gardenias! ✂️