
Picking
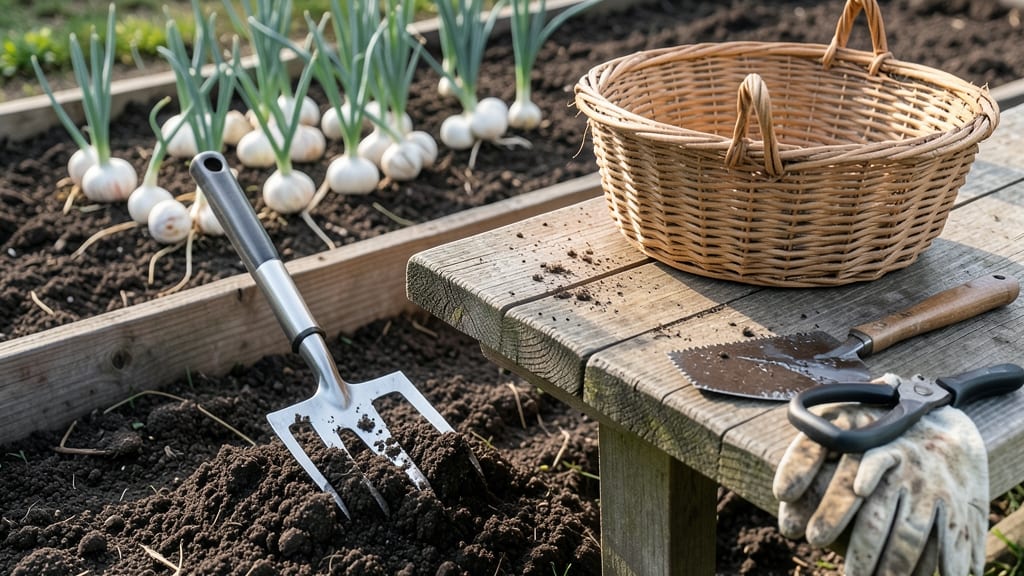
Harvesting shallots from your garden at the right time turns those tiny spring cloves into a flavor-packed harvest that lasts all year.
Picture this: you’ve nurtured your 🧅 shallots all season, and now the tops are wilting, but you’re not sure if they’re ready—or if you’ve waited too long. One wrong move, and you could end up with shriveled bulbs or split skins, wasting months of effort.
Timing is everything, and the clues are right in front of you: the papery skin, the yellowing foliage, and that firm-but-dry feel when you gently squeeze a bulb. Miss these signs, and you might harvest too early (soft, watery bulbs) or too late (split skins that won’t store).
In this guide, I’ll walk you through when to dig, the best tools to use, and how to cure and store your harvest so it stays fresh through winter—plus how to replant the best bulbs for next year’s crop.

When to harvest shallots for peak flavor and storage longevity
Timing your shallot harvest correctly ensures maximum flavor intensity and storage longevity. Unlike onions, shallots don't form a single bulb but rather clusters, making their harvest window more delicate. Missing it can mean shriveled bulbs or split cloves, so knowing the right cues is essential.
The ideal harvest occurs when foliage begins yellowing but before it fully dies back—a balance that varies slightly by climate zone.
Most gardeners in USDA Zones 6-8 should harvest between mid-July and August, aligning with 105-120 days after planting. In warmer zones (9-10), this window shifts to June-July, while cooler zones (3-5) may extend until late August or early September.
Paying attention to leaf color and bulb firmness trumps calendar dates every time.
| Harvest Indicator | Zone-Specific Timing | Bulb Characteristics | Action Required |
|---|---|---|---|
| Foliage Color | Zones 3-5: Late Aug Zones 6-8: Mid-July Zones 9-10: June |
50-75% yellow Dry papery skin |
Harvest immediately |
| Bulb Size | All zones | 1-2 inches diameter Firm to touch |
Dig carefully |
| Leaf Condition | All zones | Wilted but not brown Dry tops |
Cure 1-2 weeks |
| Overripe Signs | All zones | Brown foliage Split bulbs |
Use immediately |
The first clue that your shallots are ready appears in their foliage. Look for 50-75% yellowing leaves—this signals the bulbs have stopped growing but haven't yet begun to deteriorate.
If you wait until the leaves are fully brown, the bulbs may split or shrivel, reducing both quality and storage life. I always check by gently pulling back the soil to inspect the bulbs; they should feel firm and dry, not soft or moist.
Bulb size also plays a role in determining harvest readiness. Aim for 1-2 inch diameter cloves—any smaller, and they won't have developed full flavor; any larger, and they risk splitting.
In my Zone 7 garden, I typically harvest when the bulbs reach about 1.5 inches in diameter, which usually falls in early July. The key is consistency: if most plants show these signs, it's time to harvest the entire patch.
Climate zone significantly impacts your harvest schedule. In cooler climates (Zones 3-5), shallots take longer to mature, so you might not see harvest-ready plants until late August or early September.
Meanwhile, in warmer zones (9-10), the growing season is shorter, and you may need to harvest as early as mid-June. I've found that shorter-day varieties mature faster in hotter zones, while longer-day varieties thrive in cooler regions.
Avoid the temptation to harvest too early—underripe shallots lack flavor and store poorly. If you dig them when the foliage is still green and leafy, the bulbs will be soft and won't keep well.
Conversely, waiting too long leads to overripe shallots with split skins and diminished storage potential. The sweet spot is when the tops are yellowing but not yet brown, and the bulbs feel firm when gently squeezed.
One trick I've learned is to harvest a test clump a week before the expected harvest time. Dig up one plant, check the bulb size and foliage color, and taste a small piece. If the flavor is strong and the texture firm, your shallots are ready.
This method has saved me from harvesting too early or too late in past seasons. It's a small effort that pays off with better-tasting, longer-lasting shallots.
Seasonal timing also affects how you should handle post-harvest care. In humid climates, where curing takes longer, I prioritize well-ventilated drying areas to prevent mold. In drier regions, I can simply lay the harvested shallots in a shady spot for a few days.
Understanding your local climate helps you adjust your harvest and curing process for optimal results.
Finally, remember that shallots store best when fully cured. After harvesting, allow them to dry in a shady, well-ventilated area for 1-2 weeks. This curing process thickens the skins and extends shelf life.
Once cured, store them in a cool, dark place with good airflow—braided shallots last 4-6 months, while mesh bags can keep them fresh for up to 8 months.
Step-by-step guide to digging shallots without damaging the bulbs
Harvesting shallots at the right time ensures flavorful bulbs that store well, but the digging process itself can be tricky. One wrong move can bruise or split those delicate layers, turning your harvest into a loss.
I’ve learned through trial and error that the right tools, timing, and technique make all the difference between a perfect harvest and a disappointing one.
Start by gathering your essential tools: a garden fork or hand trowel, a bucket for storage, and a sharp knife for trimming. Work on a dry, sunny day when the soil is loose but not muddy—this prevents the bulbs from sticking or tearing.
The goal is to lift the shallots gently while keeping their papery skins intact.
How to Harvest Shallots Without Damage
- Step 1: Loosen the soil around the shallot plants with a garden fork, inserting it 2-3 inches away from the base. Gently pry upward to avoid piercing the bulbs.
- Step 2: Grasp the foliage (not the bulb) and lift the entire plant from the soil. Shake off excess dirt, but don’t scrub—this can damage the outer skins.
- Step 3: Trim the tops to 1 inch above the bulb using a clean knife. This reduces moisture loss and prevents rot during curing.
- Step 4: Lay the shallots in a single layer on a well-ventilated tray or mesh bag. Place them in a dry, shaded spot for 2-3 weeks to cure—this toughens the skins and extends shelf life.
- Step 5: Once cured, store the shallots in a cool, dark place (like a mesh bag or paper sack) where they’ll keep for months. Avoid plastic bags—they trap moisture and cause rot.
If you notice soft spots or mold on your cured shallots, act fast! Place them in a paper bag with a few apple slices (the ethylene gas helps slow spoilage) and store them in the crispest drawer of your fridge.
For bulbs that are still firm but slightly dried, soak them in cool water for 10 minutes to revive them before cooking.
A common mistake I’ve seen (and made!) is harvesting too late. If the tops turn brown and crispy or the bulbs split open, they’ll spoil quickly. Always dig when the foliage yellows but hasn’t fully died back—this is your sweet spot for flavor and storage potential.
Pro tip: If your soil is rocky or compacted, consider growing shallots in raised beds or containers. This makes digging easier and reduces the risk of bulb damage during harvest. With the right approach, you’ll turn your garden into a shallot treasure trove that lasts all winter! 🧅